How to save battery on an Android phone
Make your Android battery last longer with the settings that matter: screen and radios, Adaptive Battery, Battery Saver, Doze, and the myths to skip.
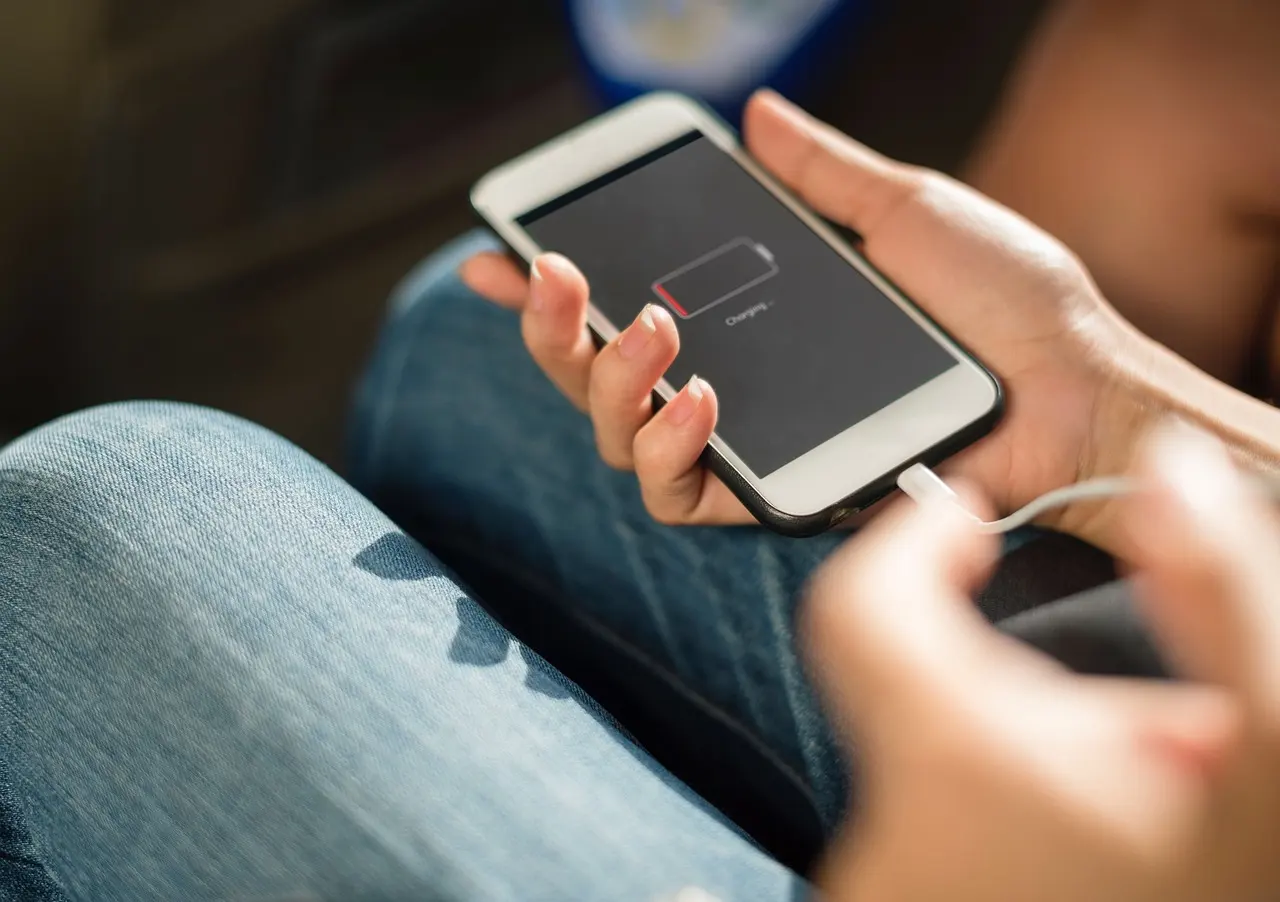
Battery life on Android comes down to a handful of settings and habits, most of which are already built into the phone. This guide walks through the changes that make the biggest difference, in the order worth doing them: trimming what the screen and radios draw, finding the apps that drain the most, letting Android’s automatic power features do their job, and skipping the “tricks” that quietly waste power. The paths below use stock Pixel wording, and manufacturer skins like Samsung’s One UI move some menus around, so treat the routes as a guide rather than an exact map. One naming difference trips people up: the switch for stretching a charge is called Battery Saver on a Pixel but Power saving mode on a Samsung Galaxy (under Battery, or Battery and device care), so look for the Samsung wording if these Pixel paths don’t match your phone.
Start with the screen and the radios
The display and the wireless radios are where most of your battery goes, so this is the first place to look. Google’s own advice for extending Android battery life centers on exactly these: lower your screen brightness, let brightness change automatically with adaptive brightness, set the screen to turn off sooner, and turn on the dark theme. On the radio side, prefer Wi-Fi over mobile data when you can, turn off Bluetooth and Location when you are not using them, and switch on Airplane mode in places with no signal, since a phone hunting for a tower that is not there burns power fast.
Brightness deserves special attention on OLED phones. A Purdue University study measuring several Pixel models and the Moto Z3 found that lowering brightness from 100% to 50% cut OLED display power draw by roughly ten times, independent of whether the content on screen was dark or light. In other words, the brightness slider is a far bigger lever than any theme choice.
Higher refresh rates also cost power. Screens set to 90Hz or 120Hz redraw more often than a 60Hz screen and draw more current for it. That is why many phones offer an adaptive or variable refresh-rate mode that drops the rate when high smoothness is not needed, and it is one of the things Pixel’s Battery Saver switches off. The exact impact depends on your device and panel.
See which apps are draining the battery
Once the basics are set, find out where the power is actually going. On stock and Pixel Android, open Settings > Battery > Battery usage to see a per-app list of consumption since your last full charge. Skins differ here: on a Samsung Galaxy, for example, the same information lives under Settings > Battery and Device Care > Battery. The list tells you which apps are worth restricting and which are already well behaved.
This is also a good moment to deal with apps you no longer use. Removing them removes their background work entirely, and clearing out unused apps and files is part of the same housekeeping that helps you free up storage at the same time.
Let Adaptive Battery and App Standby do the work
Android has learned to manage background power on its own, and leaving those systems on is usually better than micromanaging.
Adaptive Battery learns your usage so that apps you open less often run less while you are not using them. On Pixel it lives at Settings > Battery > Battery Saver > Adaptive Battery > Use Adaptive Battery, though the wording moves around on other skins.
Underneath that sits App Standby Buckets, introduced in Android 9. The system sorts each app into one of five priority buckets, “Active”, “Working set”, “Frequent”, “Rare”, and “Restricted”, plus a special “never” bucket for apps you have installed but never opened. Your bucket controls how often an app’s background jobs, alarms, and network access are allowed to run. To decide, the system may use a preloaded machine-learning app that predicts how likely each app is to be used, falling back to simple recency of use if that app is not present.
A few details are worth knowing. These bucket limits apply only while the phone is on battery power; while it is charging, the system does not impose them, with one exception. The “Restricted” bucket, the strictest tier, keeps its limits even while charging, loosening only when the phone is charging, idle, and on unmetered Wi-Fi. An app falls into Restricted after a stretch of non-use: on Android 13 and higher that threshold is 8 days, while on Android 12 and 12L it was 45 days, and time the device spends powered off does not count. Once an app is Restricted, the system allows it only about one job per day, run in a roughly ten-minute batched session, and about one alarm per day, which sharply cuts its background activity.
Restrict a specific app yourself
If one app stands out as a drain and you do not need it working in the background, you can set its behavior directly. On Pixel, open Settings > Battery > Battery usage, tap the app, and use Allow background usage. With the toggle on you can pick “Optimized”, which is Google’s recommended default, or “Unrestricted” for apps you always want current. Turning the toggle off sets the app to Restricted and fully prevents it from running in the background. Reserve “Unrestricted” for the few apps whose live updates you truly depend on, since it opts the app out of the savings above.
Turn on Battery Saver, and schedule it
Battery Saver is the switch for when you need to stretch a charge. When on, it turns on the dark theme and limits or turns off background activity, some visual effects, certain features, and network connections, so apps that refresh content may be delayed. You enable it at Settings > Battery > Battery Saver.
On Pixel it does more: it dims the wallpaper, stops location services while the screen is off, stops listening for “Ok Google”, may delay low-priority notifications, disables the always-on display, turns off Smooth Display (the high refresh rate) on Pixel 4 and later, and may drop 5G phones back to 4G.
The best way to use it is to not think about it. Under Settings > Battery > Battery Saver > Schedule and reminders you can have it switch on automatically at a battery percentage you choose by sliding the bar, and set it to switch off again once the phone is charged back to 90%.
Understand Doze so you can trust it
Doze mode, added in Android 6.0, is the reason a phone sitting on a nightstand barely loses charge. It engages when the device is unplugged, stationary, and has the screen off for a period. Once active, it suspends apps’ network access, ignores wake locks, and defers syncs, scheduled jobs, and standard alarms into periodic “maintenance windows”. The longer the phone stays idle and unplugged, the less frequently those windows are scheduled, so consumption keeps dropping the longer it rests. There is nothing to switch on here; it is worth knowing mainly so you understand that a phone left alone is already conserving power.
Skip the tricks that do not help
One habit is worth unlearning: routinely swiping apps away from the recents screen does not save battery, and it can waste it. Modern Android keeps idle apps in a suspended state that uses virtually no CPU or battery, and force-closing an app makes it fully reload the next time you open it, reconnecting and rebuilding its interface, which costs more power than leaving it alone. Doze and App Standby already defer idle apps for you.
Dark mode is more nuanced than its reputation suggests. It helps on OLED screens, but the benefit depends heavily on brightness. The Purdue study, testing six popular Google apps across several Pixel models and the Moto Z3, found dark mode saved only about 3 to 9 percent of total phone power under normal indoor auto-brightness use, rising to 39 to 47 percent of display power only at full 100% brightness. Dark mode is a reasonable default and easier on the eyes, but it is not a substitute for turning the brightness down.
Keeping it up over time
The routine that lasts is a quiet one: keep brightness low and adaptive, let the screen sleep sooner, lean on Wi-Fi, and leave Adaptive Battery, App Standby, and Doze switched on to manage the background for you. Reach for Battery Saver, ideally on a schedule, when you need to stretch a charge, and restrict individual apps only when the battery usage list points to a clear culprit. If a phone keeps draining fast after all of this, or a specific app misbehaves in ways that look more like a fault than normal use, it is worth checking guidance on how to fix common phone problems before assuming the battery itself is worn out.
Common questions
Does closing background apps save battery on Android?
No. Modern Android keeps idle apps in a low-power suspended state, and force-closing them from recents makes them fully reload next time, which costs more power. Doze and App Standby already handle idle apps for you.
Does dark mode actually save battery?
Only on OLED screens, and less than its reputation suggests. A Purdue University study found dark mode saved about 3 to 9 percent of total phone power at normal indoor brightness, rising sharply only near full brightness. Lowering brightness saves far more.
What single setting saves the most battery?
Screen brightness. The same Purdue research found dropping brightness from 100% to 50% cut OLED display power by roughly ten times. Lowering brightness, shortening screen timeout, and using adaptive brightness beat any other single change.
Should I leave Adaptive Battery turned on?
Yes. Adaptive Battery learns which apps you use and limits background power for the ones you don’t, so leaving it on usually beats managing apps by hand. Restrict a specific app only when the battery-usage list points to a clear drain.